This piece I snagged at the Salvation Army for only $14. The top and sides were broken so it required some wood filling that seemed easier said than done.
What I used:
>> Rustoleum flat white paint x3
>> Krylon metallic gold spray paint
>> sand paper
>> Elmers wood filler
>> a trial for scraping
>> wooden nobs and hardware
>> power drill
>> soap & water
>> gloves
Here you can see the damage was pretty bad to the piece.
Next came sanding. Lots of sanding.
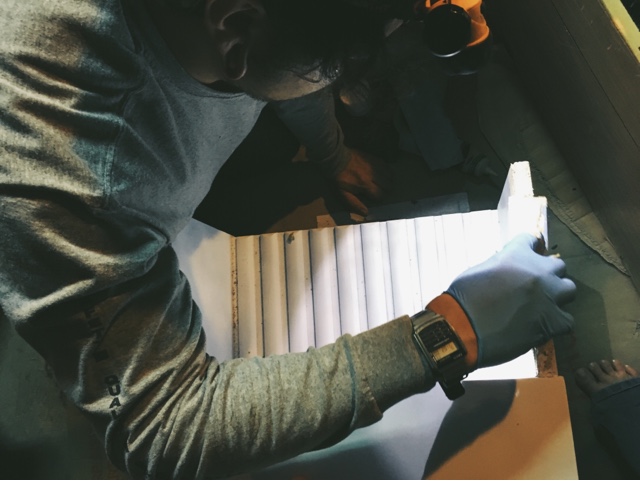
After I got a smooth base I started with my wood filler. This part is a process and takes lots of patience. Every layer requires 4-6 hours to harden & dry. We had to imitate the wood by recreating the broken areas. Some parts were pretty bad and required a couple of thick layers.
So two days were spent filling & drying.
After the wood filler hardens you need to sand it down smooth. This will take the most time. If you want it to look like a solid piece then be very patient and careful.
Next came another cleaning before starting on the paint job. Again, soap & water then let air dry.
Layer by layer I added the paint until I got it to the right white that I wanted. About five or so layers. The legs I spray painted metallic gold and the nobs were an add on we did. They were only $0.97 at Home Depot and require a power drill to be drilled in.
After all the paint has dried I had my boyfriend added the nobs to the piece.
As you can see from the photo, you can't even tell the wood was ever broken or cracked. It's now a solid piece.
Enjoy!


No comments:
Post a Comment